How To Design a 3D Wooden Box in Photoshop
http://cs5tutorial.net/how-to-design-a-3d-wooden-box-in-photoshop/
 Ctrl+Click on the “Front” layer to load its selection then go to Select>>Modify>>Smooth, enter 3px then click OK, press Ctrl+Shift+I to invert the selection then hit Delete.
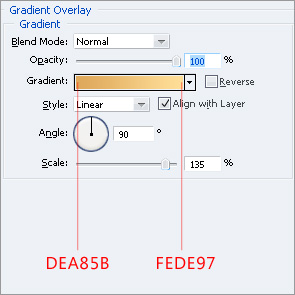
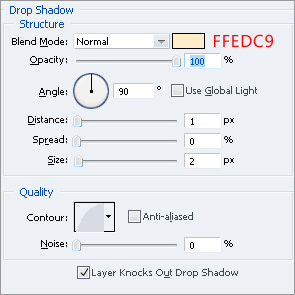
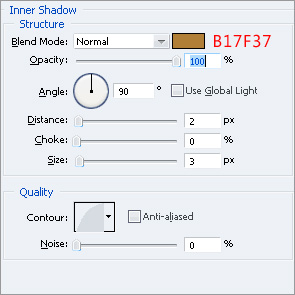
Ctrl+Click on the layer and go to Select>>Modify>>Contract , enter 25px and click OK, create a new layer (name it “Front-Etch”) and fill the selection with black.Go to Blending Options of this newly created layer and make these settings:

Now go to Filter>>Blur>>Motion Blur and put these figures:
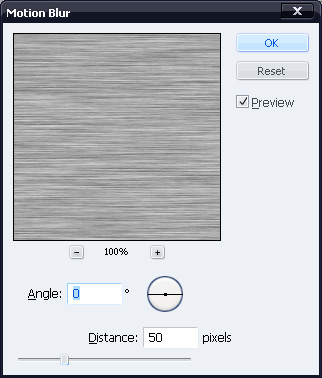
With “Texture” layer selected, Ctrl+Click on the “Front” layer, press Ctrl+Shift+I and hit Delete.By doing so, the part of texture overflowing “Front” layer will be cleared.
With the layer still selected, press Ctrl+L and make these settings:
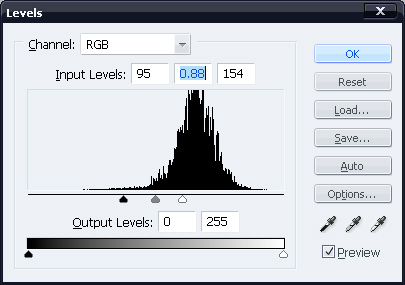 Change Blending Mode of the layer to Soft Light and reduce its opacity to 30%.
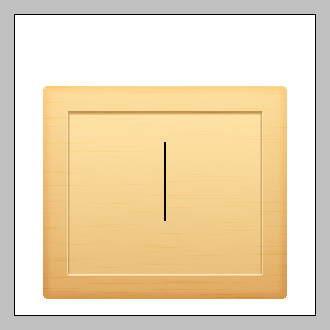 Press Ctrl+T and rotate the line 45 degrees counter-clockwise.Move the line at the upper-left corner of “Front” layer.In the layers-palette, place the “Line” layer below “Front-Etch” layer.It’d look like this:
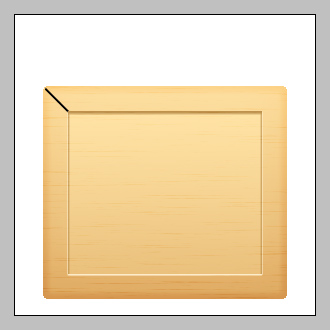 Go to its Blending Options and make these settings:
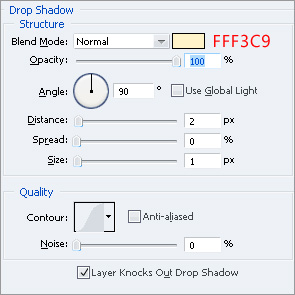
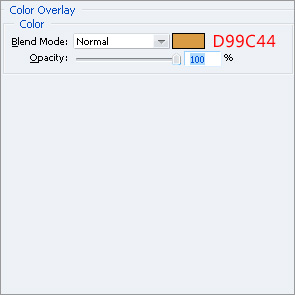 Duplicate the layer (Ctrl+J) and go to Edit>>Transform>>Flip Vertical.Move the duplicated layer down so that it’s edge coincides with the lower left corner of the “Face” layer.
You might notice that the duplicated layer doesn’t fit in colors down there as it does at top.To fix this, go to its Blending Options and edit these settings:

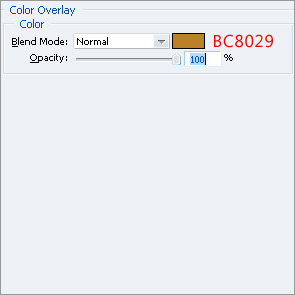 Duplicate the two lines ,flip them horizontally and move them rightward so that you get something like this:
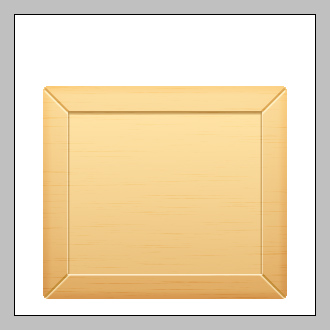
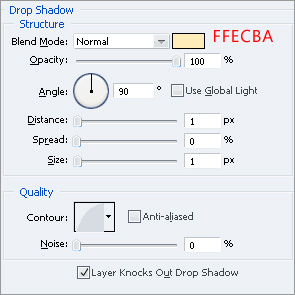
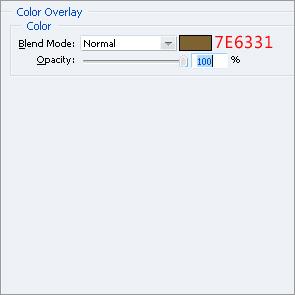 Make a copy of it (Ctrl+J) and move the two circles at following positions:
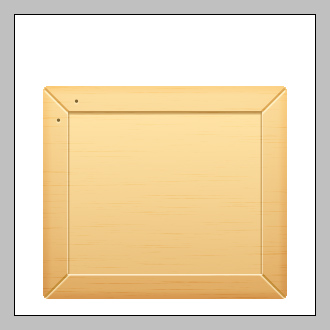 Make copies of the pair and move them on the remaining three corners:
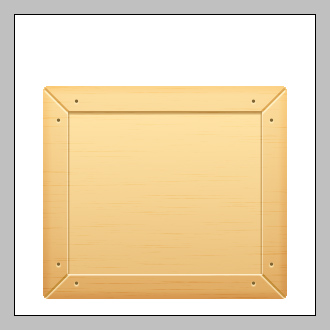 Create a new layer (name it “Ridges”) and fill a 2px thick horizontal selection on it with black.Make sure that the line is 2px short from either ends of the “Face-Etch” layer.
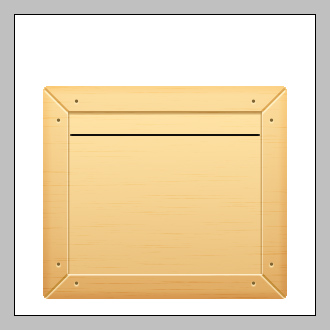 Ctrl+Click on the layer and move the selection 20px down (press Shift+Down twice), fill the selection with black.Do this till you get 7 horizontal lines:
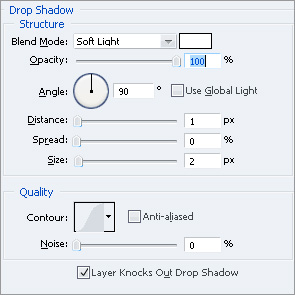
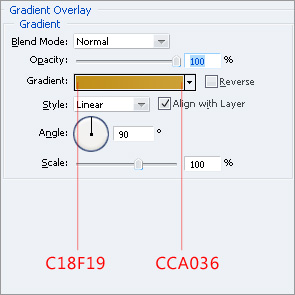
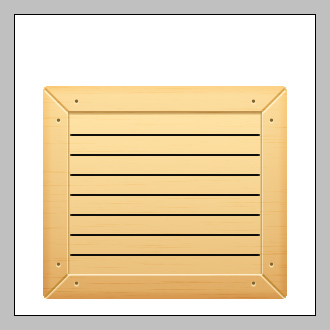 Go to its Blending Options and make these settings:
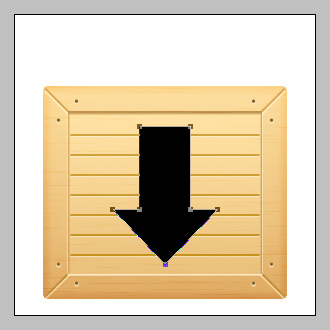 Place the arrow layer below “Texture” and “Ridges” layers.Set its Blending Mode to Overlay and reduce its opacity to 45%.
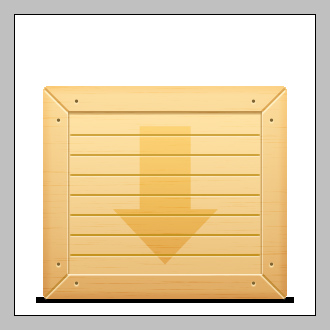 Go to Filter>>Blur>>Gaussian-Blur ,enter 2px and click OK.Now go to Filter>>Blur>>Motion-Blur ,put:
Angle=0
Distance=30px.
You’ll have something like this by now:
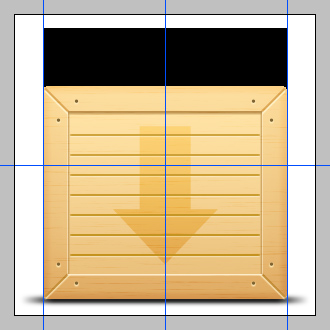 You can use Guides for perfect alignment.Next, go to Edit>>Transform>>Perspective , click and drag one of the top corners of “Up” layer inside so that you get a shape like this:
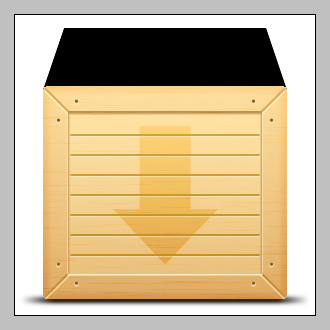 Ctrl+Click on the layer then go to Select>>Modify>>Smooth, enter 3px then click OK, press Ctrl+Shift+I to invert the selection then hit Delete.Go to its Blending-Options and make these settings:
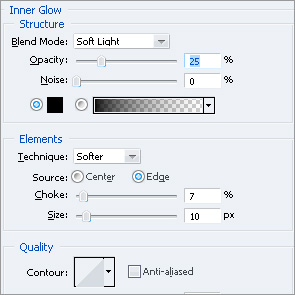
 Ctrl+Click on the layer and go to Select>>Modify>>Contract , enter 15px and click OK, create a new layer (name it “Up-Etch”) and fill the selection with black.Move the layer 6-7px up.Go to its Blending-Options and make these settings:
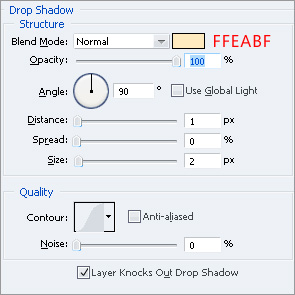
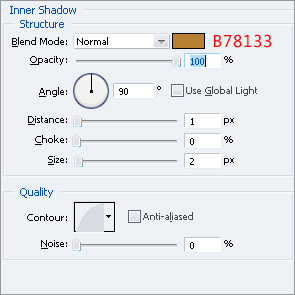

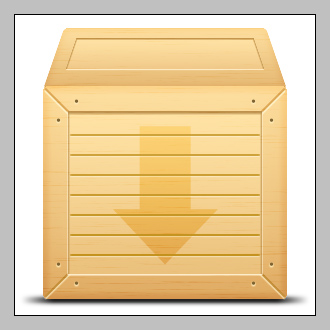
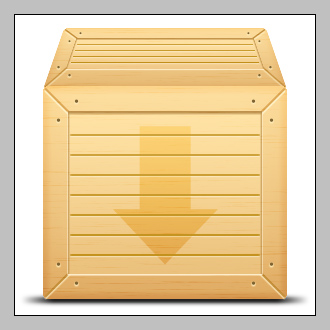 While doing so, use 1px thick lines for ridges and diagonals.Also use smaller circles for nails.
In addition to levels, I added a “Color-Balance” layer and came up with this:

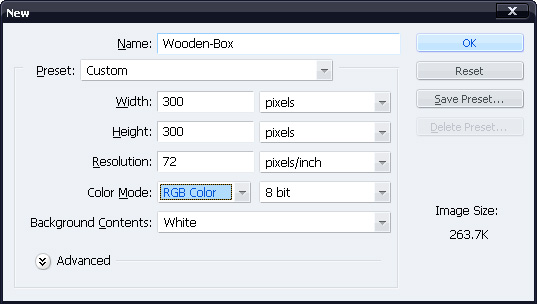
Step 1: Create a New Document
Create a new 300×300 px white backgrounded document in Photoshop.You can change the size of document if you want but keep the height to width ratio same (1:1).
Tip
Use layer-sets for putting a group of layers together that you’d want to move/resize alt at a time.With layer-sets, the tedious work of selection of multiple layers for moving/resizing can be avoided.Step 2: Create Front-Face
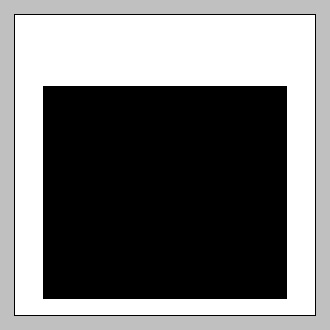
Create a new layer-set (name it “Front-Face”).Within the layer-set, create a new layer (name it “Front”) ,select Rectangular Marquee Tool and fill with black a selection like the one shown below.

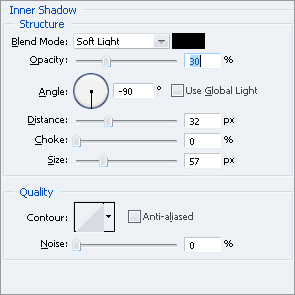
Go to Layer>>Layer Style>>Blending Options and make these settings:


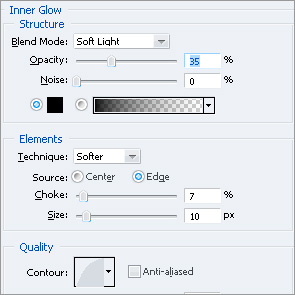
Ctrl+Click on the layer and go to Select>>Modify>>Contract , enter 25px and click OK, create a new layer (name it “Front-Etch”) and fill the selection with black.Go to Blending Options of this newly created layer and make these settings:


Step 3: Create the Wood Texture
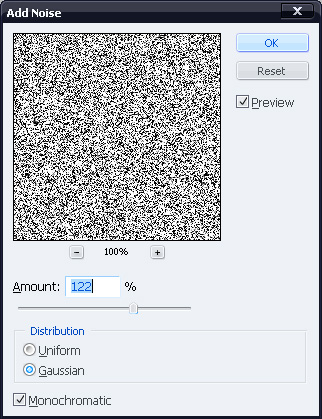
Create a new layer (name it “Texture”) and fill it with white.Go to Filter>>Noise>>Add Noise and make these settings:
Now go to Filter>>Blur>>Motion Blur and put these figures:

With “Texture” layer selected, Ctrl+Click on the “Front” layer, press Ctrl+Shift+I and hit Delete.By doing so, the part of texture overflowing “Front” layer will be cleared.
With the layer still selected, press Ctrl+L and make these settings:

Step 4: Add details to Front-Face
Create a new layer (name it “Line”) and with Rectangular Marquee Tool, fill a 2px thick vertical selection of any length, like the one shown below:


You might notice that the duplicated layer doesn’t fit in colors down there as it does at top.To fix this, go to its Blending Options and edit these settings:


Step 5: Add further details to Front-Face
Select the Shape Tool and draw a very small circle anywhere on the canvas.Go to it’s Blending Options and make these settings:


Step 6: Add Arrow to Front-Face
Using Pen Tool ,make an arrow shape like this:
Step 7: Add Shadow to the Base
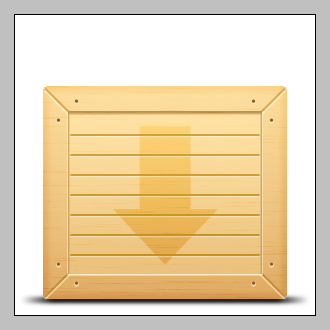
Create a layer (name it “Shadow”) and place it below all other layers in layers palette.Fill a 6px thick selection with black slightly wider than front-face.
Angle=0
Distance=30px.
You’ll have something like this by now:

Step 8: Create Upper-Face
Create a new layer-set (name it “Upper-Face”), create a new layer (named as “Up”) and fill a rectangular selection with black, as shown:


Step 9. Add Wood Texture to Upper-Face
Duplicate the “Texture” layer from “Front-Face” layer-set and move it to “Upper-Face” layer-set.Put it above the two layers in the set.Clear the part of the “Texture” layer that overflows “Up” layer.You’ll obtain something like this by now:
10. Add details to upper face:
Add ridges,lines and nails like you did on the “Front-Face” while using same styles to get something like this:
Step 11. Final adjustments
For any final adjustment, click on “Front-Face” layer-set and go to Layer>>New Adjustment Layer>>Levels, choose settings that please you.In addition to levels, I added a “Color-Balance” layer and came up with this:

I hope you enjoyed following the tutorial as much as I did writing it.
 Previous Article
