Create Abstract Photo Manipulation with 3D Render Pack in Photoshop
In this Photoshop tutorial, I will show you the steps I took to Create Abstract Photo Manipulation with 3D Render Pack in Photoshop. This is an intermediate level tutorial so some steps can be tricky, but why not have a try!
Along the way, you will learn how you can manipulate 3D renders in Photoshop and attach them to an existing photo, in order to produce some special effect. There will also be some lighting techniques and image adjustment skills on top of it.
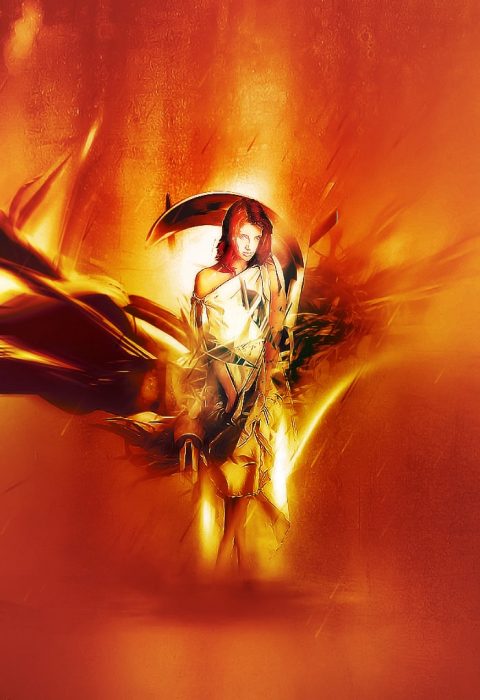
Here is a preview of the final effect I have for this tutorial: (click to enlarge)
PSD File Download
You can download the PSD File for this tutorial via the VIP Members Area for only $6.95/Month (or less)! You will not only get this PSD File, but also 70+ other PSD Files + Extra Goodies + Exclusive Photoshop tutorials there. Signup now and get exclusive :) Find out more about the VIP Members Areas
OK Let’s get started!
To complete this tutorial, you will need the following stocks:
Wall Texture
Model by mjranum-stock
3D render Pack
Volcanic Brushset for Cloud Effect
Step 1
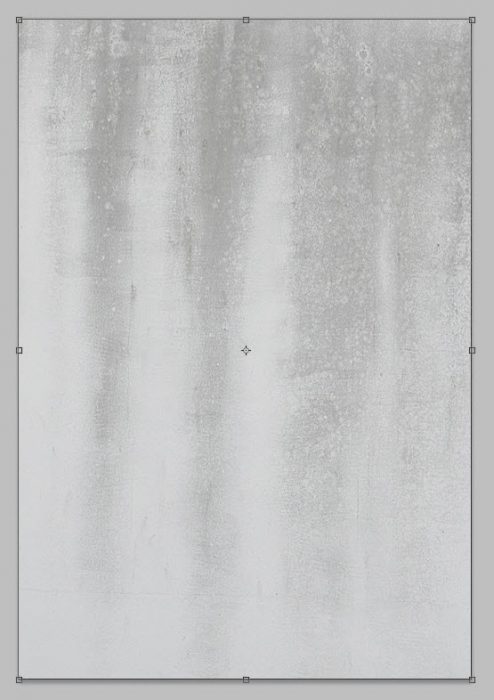
Create a new document sized 700px * 1020px with the default white background. Load the Wall Texture image into Photoshop and use the Rectangular Marquee tool to select a portion of the image as shown below:
Copy and paste the selection into our document, resize and fit it the size of our document:
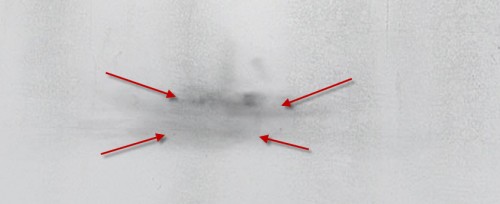
Create a new layer and use a small, soft black brush tool, gently paint some ground texture onto the canvas:
Hint: set the brush flow and opacity to around 40% - this way you won’t over-painting the ground. It would be great if you have a tablet, too.
Use a soft eraser to remove the following area on the wall texture to create some lighting effect:
and here is the effect so far:
Step 2
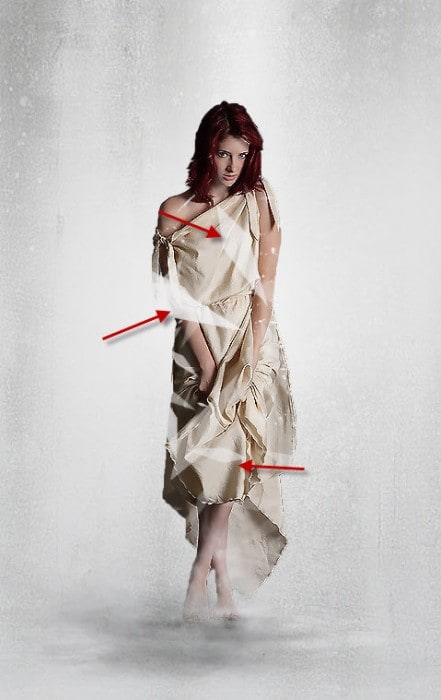
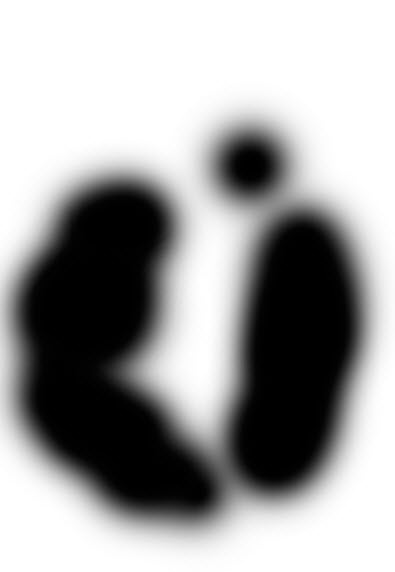
Load the Model image into Photoshop, cut out the model and paste it onto our document. On this new model layer, use the geometric brush we created in this tutorial step 3 as an eraser, erase some portion of the model as shown below: (you can do this on a layer mask)
Use the volcanic brush you downloaded, erase some portion of this model feet as shown below: (this will create a foggy/cloudy effect)
Hint: Again make sure you set the brush flow and opacity to be around 40% for a subtle effect.

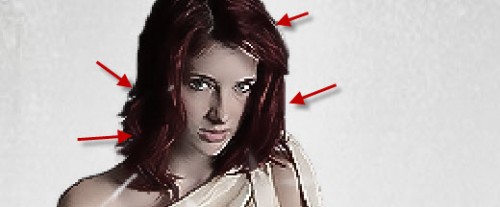
Tidy up the hair area with a 3px, 90% hardness eraser tool:
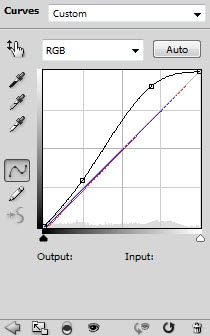
Add the following 3 adjustment layers as clipping mask to this model layer:
Black and White

Curves
Levels

and you will have the following effect so far:

Step 3
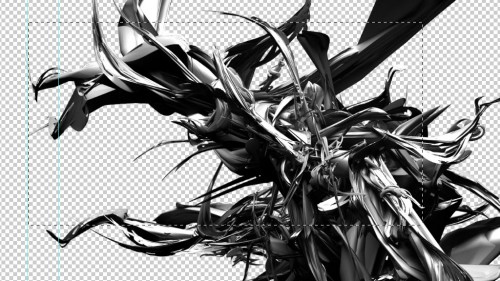
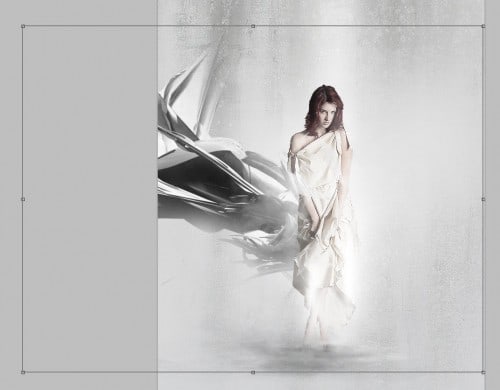
Now we get to the fun part of this tutorial :) Let’s load the 3D renders into Photoshop (choose one from the pack), select a portion of it as shown below:
Copy and paste the selection onto our document and put the layer BELOW the original model layer – resize and rotate it as shown below:
Erase the edges around the 3D render with a big soft eraser to create some lighting effect on it:
Add some cloud on the 3D render with the volcanic brush to create some smoky effect: (set brush flow and opacity to around 40%)

Grab another 3D render from the pack, copy and paste it onto our document and put the layer BELOW the model layer. Again we use a big soft eraser to remove the edges around the render:

Reduce the layer opacity of this 3D render layer to around 60% to add some depth to the image:

Step 4
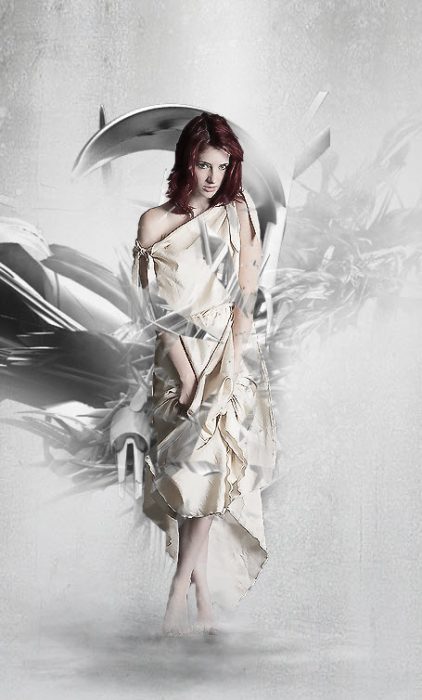
Load another 3D render into Photoshop, select a portion and copy it out from the render, paste it onto our canvas on top of all previous layer. Load the selection of the model layer as shown below: (as you can see, the portion where you erased will not be selected)
Clear the selection via Edit > Clear – the model will be revealed as shown below:
Add the following layer mask to this new 3D render layer to remove the edges of it:
and you will have the following effect:
Step 5
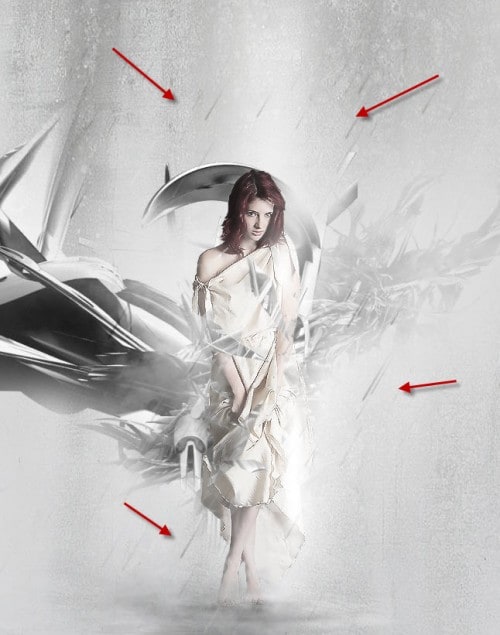
OK we’re almost done! For some final touches, I added some particle effect with the rain brush created in this tutorial:
Also add some lighting effect around the model with a soft white brush:
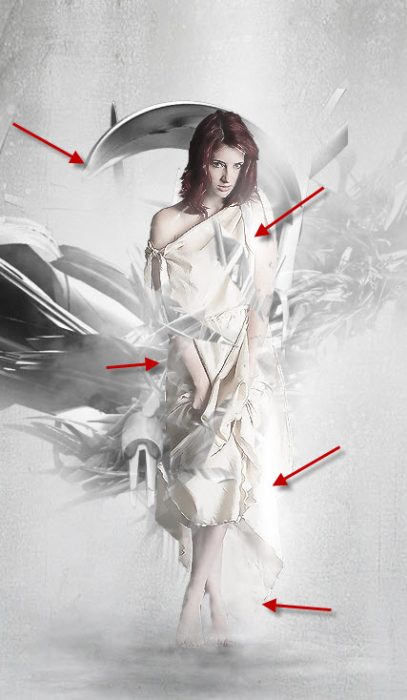
And here is the overall effect so far:
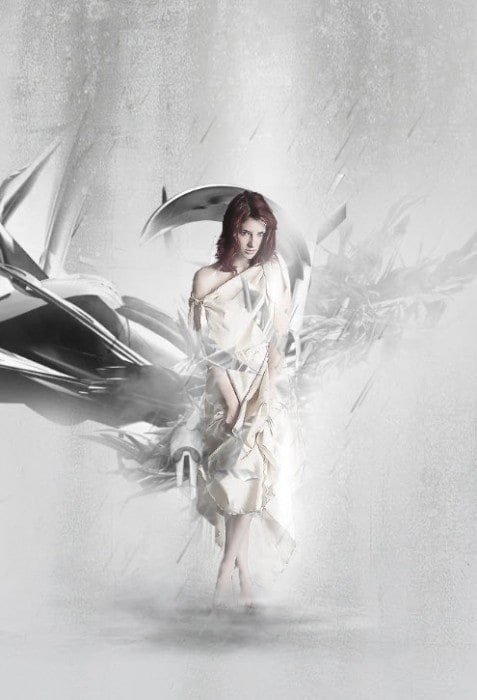
Once you’re happy with the composition, you can add some colors to the image (via painting, adjustment layers, which ever method you prefer). After the color is added, flatten the image and duplicate the background layer once, apply the following Radial Blur settings to the image:
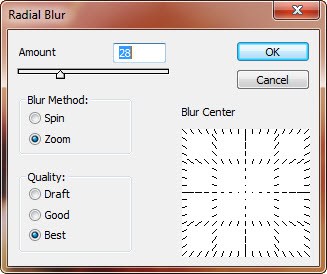
As you can see, this blurring touch will create some motion + light effect on the 3D render:
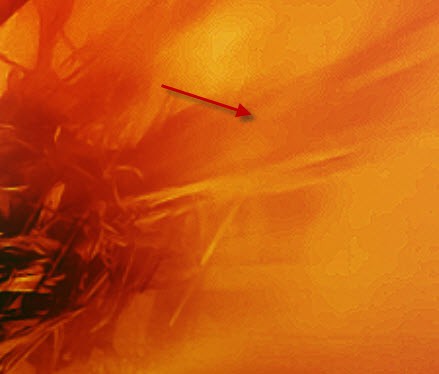

I also added some extra lighting effect around the model with some soft white brush painting on a new layer, and set it to “overlay” mode with around 40% layer opacity:
and here is my final effect for this tutorial: (click to enlarge)
That’s it for this tutorial! Hope you enjoy it and find it useful! Till next time, have a great day!
Tags: Photoshop Tutorial







 Previous Article
