Color blending collection IV
Finally the 4th collection of color blending style is published. Hope you will like it as i do  .
.
 .
. I. Elegant soft pink tone:
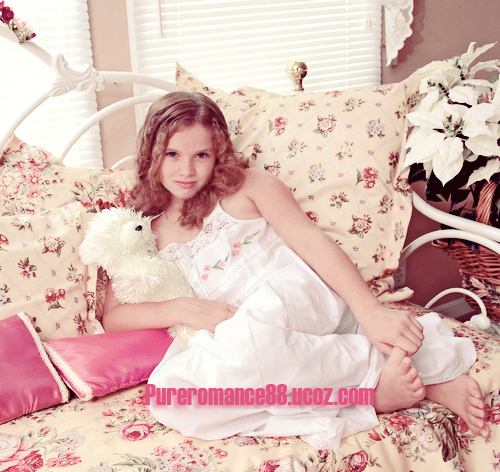
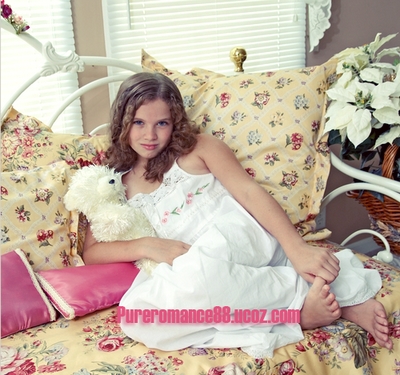
This effect is suitable for indoor portrait, without high contrast and many dark tones.
Stock :
1. Make two new Curves layer:
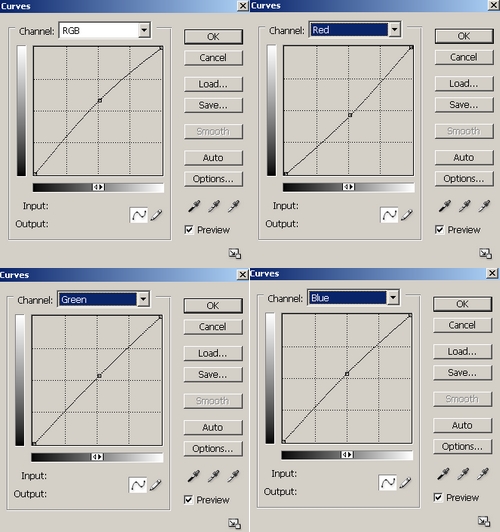
Curves 1 to reduce red tone also increase cyan tone for picture:
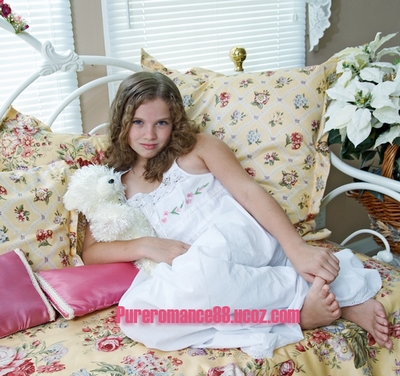
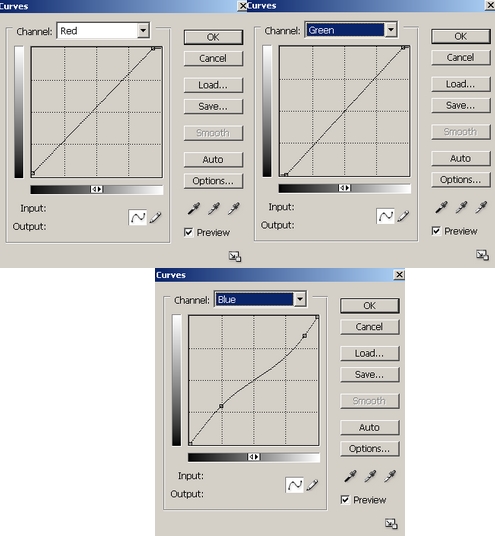
Curves 2 to add yellow tone and increase magenta tone:
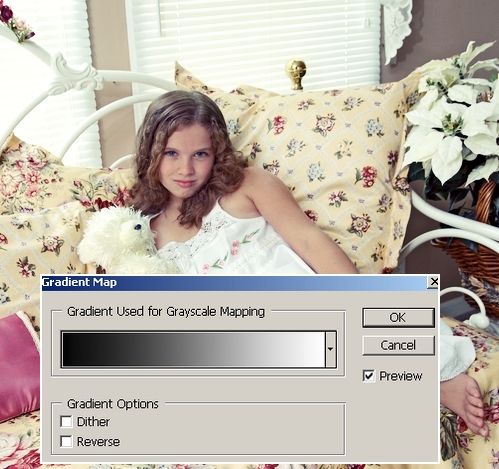
2. Add a new Gradient Map layer, take color from black to white and set the mode to Soft light 70%. This makes picture brighter also increase a little contrast. Use soft black brush to eraser model:
3. Add some adjustment layers to add more yellow tone for picture
Selective Color :
Reds: -67, -63, -37, 44
Whites: -11, 22, 51, 0
Blacks: -13, -13, -12, 18
Color Balance:
Midtones: -32, -42, -85
Shadows: -30, -20, -15
Highlights: 5, 5, 5
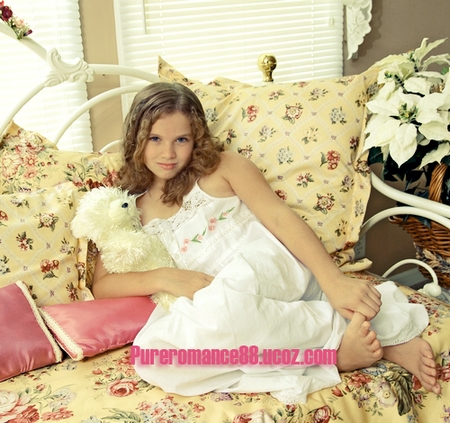
4. In this step we will use two Selective color layers to change color from yellow to pink:
Selective color 1:
Reds: -15, 38, -38, 0
Yellows: -50, -57, -40, -21
Whites: -14, 17, -14, 70
Neutrals: -16, 0, 0, 0
Blacks: -16, 28, -11, 11
Selective Color 2:
Reds: -18, 31, 26, -32
Yellows: -32, 10, -100, 0
Whites: -53, -26, -51, -22
Final Result:

II. Vibrant summer effect:
In this tutorial we will turn a normal summer photo into a beautifully vibrant one.
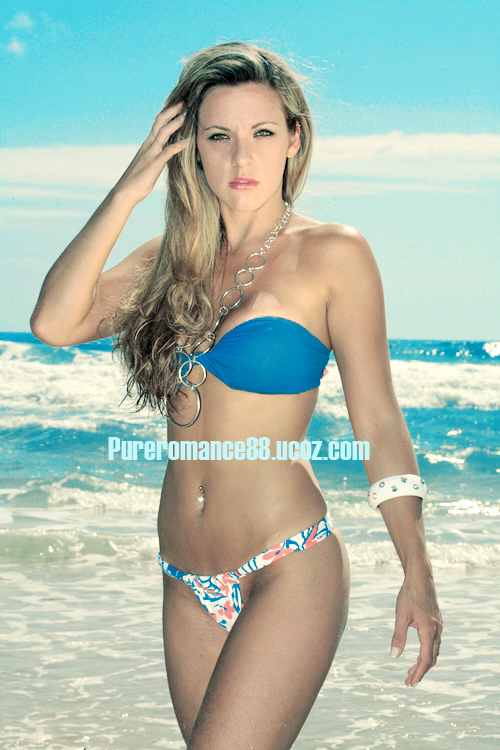
Stock :
1. First we will brighten picture. Check your picture if it is bright enough.
Duplicate the background and set to Screen 50%. The value depends on the brightness of your own photo.
. 

Add a new Curves layer, move the RGB channel up a bit:
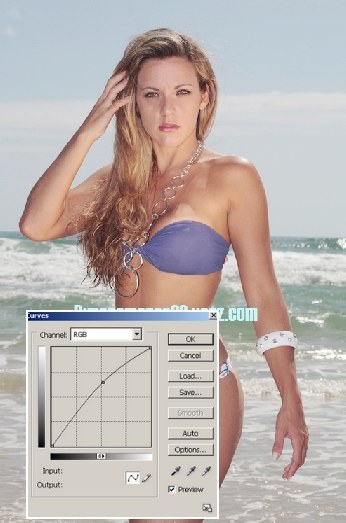
2. Merge all layers. Hit Cmd/Ctrl+Alt+Shift+~ to load brightness of picture:
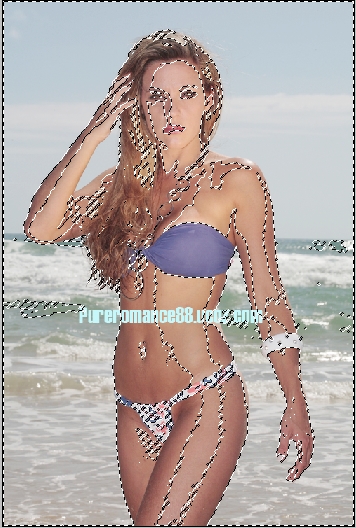
Choose Layer-New adjustment layer-Levels:
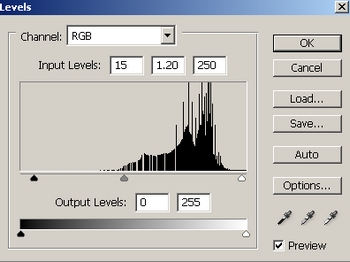
This step is to brighten, especially background a little:

3. Make 3 new Selective Color layers to make cyan, blue and green tone more vibrant also down the red tone on model skin:
Selective Color 1:
Reds: 35, -4, -14, -22
Yellows: 82, 14, -9, 5
Greens: 100, -100, -100, 0
Cyans: 100, -100, -100, 100
Blues: 100, 100, -100, 100
Blacks: 11, 7, 14, 0
Selective Color 2:
Reds: -25, 3, 20, 0
Yellows: 18, -19, -64, 0
Greens: 100, 100, -100, 100
Cyans: 100, 26, -100, 100
Blues: 100, -39, -83, 37
Neutrals: 21, 0, 0, 0
Selective Color 3:
Cyans: 100, -9, -100, 0
Blues: 100, -22, 100, 0
Neutrals: 13, 0, 0, -10
Blacks: 0, 11, 10, -5

4. Use two new Color Balance layers to add yellow light for picture, make it look gorgeous:
Color Balance 1:
Midtones: 25, 12, 15
Shadows: -35, -8, 4
Highlights: 11, 11, -3
Color Balance 2:
Midtones: 11, 5, -8
Shadows: 10, 0, 0
Highlights: 0, -3, -8
Final Result:

III. Retro movie effect:
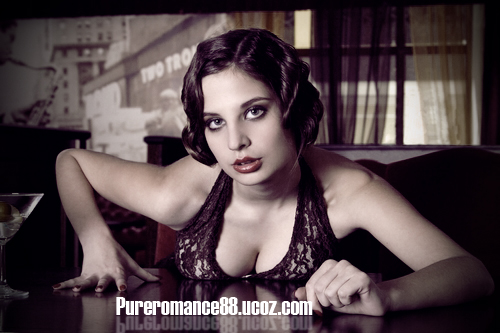
Stock:
1. Open picture and add a new Hue/Saturation layer to reduce saturation:
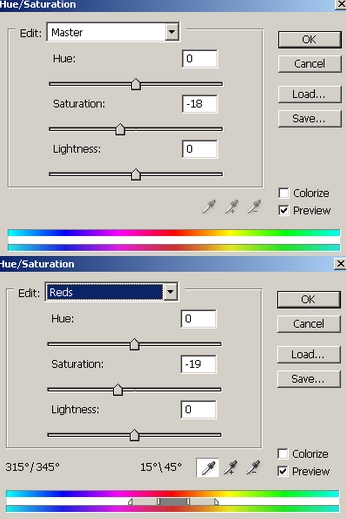
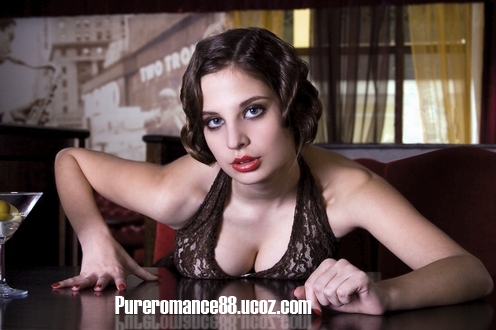
2. Merge all layers. Choose Channels on Channel Pallete. Choose Blue channel, hit Cmd/Ctrl+A to make selection:
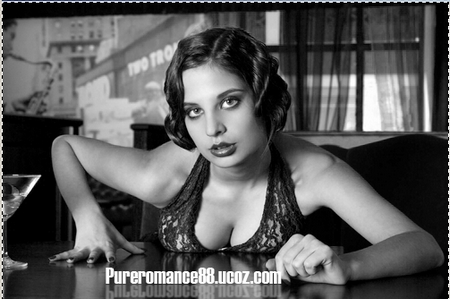
Press Cmd/Ctrl+C to copy and Cmd/Ctrl+V to paste into RGB channels. Come back to Layer Pallete, then lower opacity to 50%:
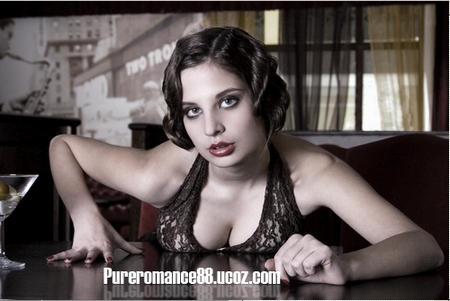
This step is to reduce saturation again.
3. Hit Cmd/Ctrl+Alt+~ to load highlight of picture:
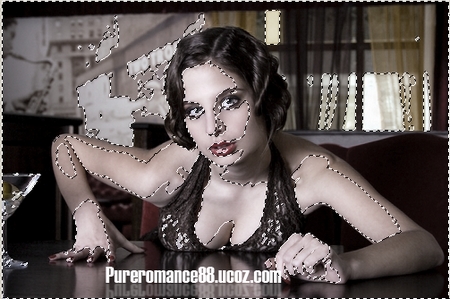
Choose Layer-New adjustment layer-Selective color, adjust black channels to give picture dark purple tone.
Blacks: -6, 21, -9, 6
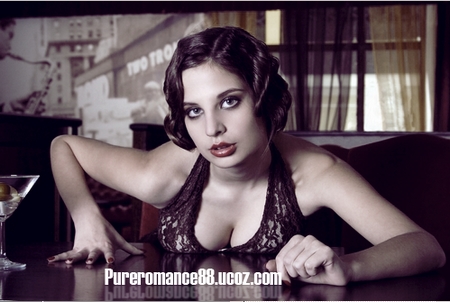
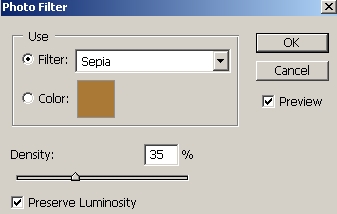
4. Add a new Photo Filter layer to make skin tone become warmer.
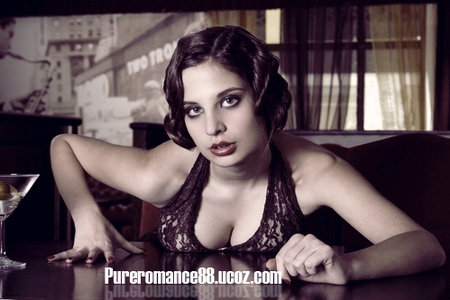
5. We will add vignette effect to picture. Merge all layers, then choose Filter-Distort-Lens Corrections:
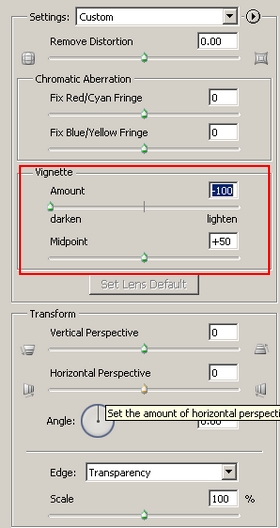
Final Result:

Tags: Photoshop Tutorial
 Previous Article
