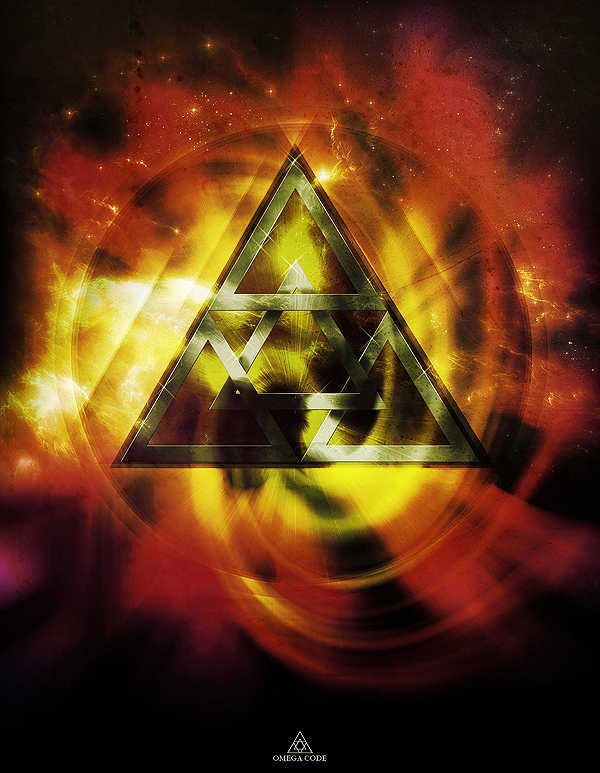
Create a Fantastic Abstract Fan Poster
http://cs5tutorial.net/create-a-fantastic-abstract-fan-poster/


 Create a Blank Layer underneath this layer, and merge the layers together (Select Both Layers > Layer > Merge Layers). Set the layer to Linear Dodge and duplicate the layer (second layer must be Linear Dodge as well).
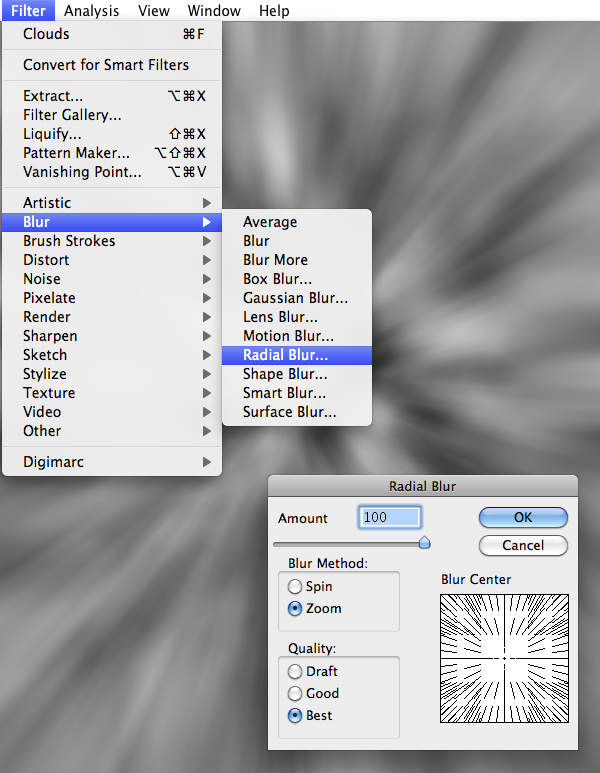
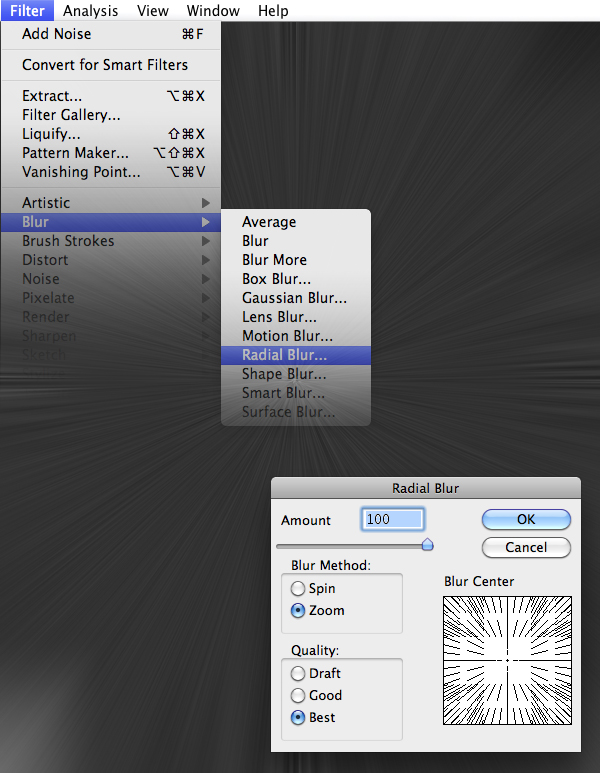
 Apply a Radial Blur over the Noise layer. Set it to Zoom, Amount 100% and Best Quality. Repeat this filter (Control + F).
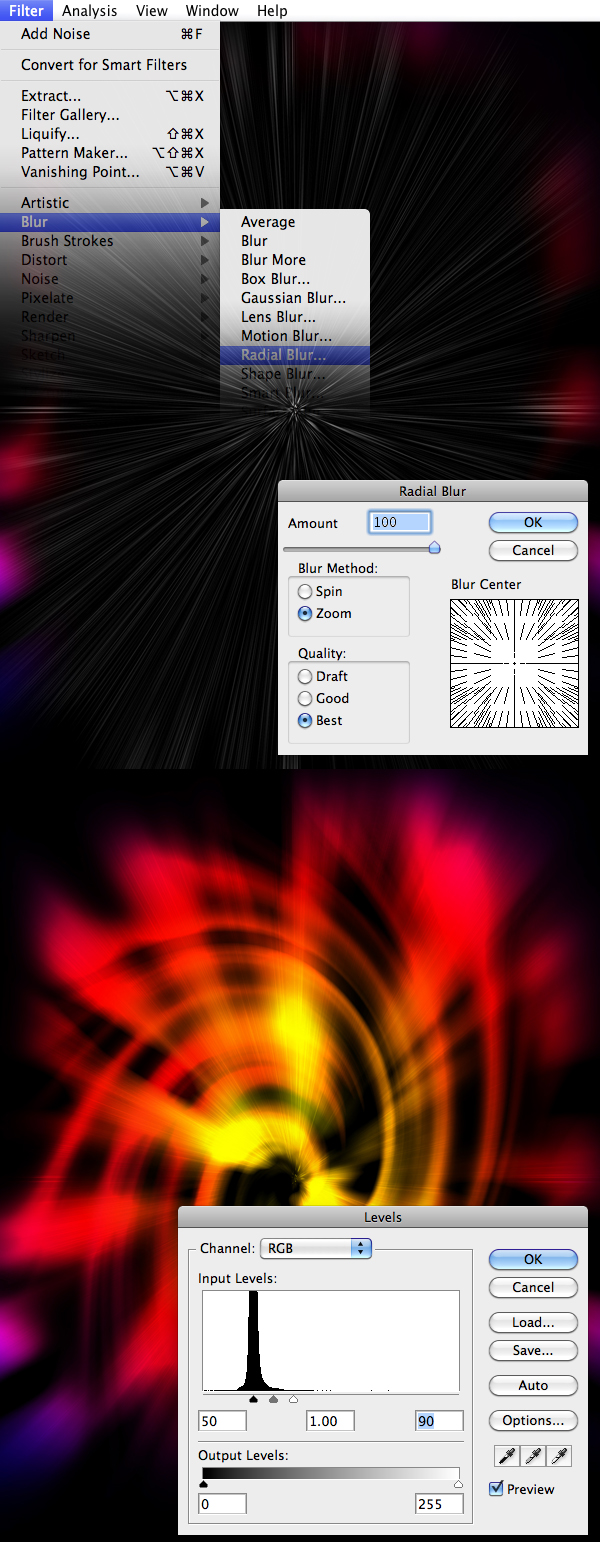
 Next bring up the Levels panel (Command + L or Ctrl + L on Windows) and apply 50 – 1 – 90 and erase the edges of the layer using the Eraser Tool (E) set to a soft brush. Set the layer to Color Dodge and 60% Opacity.
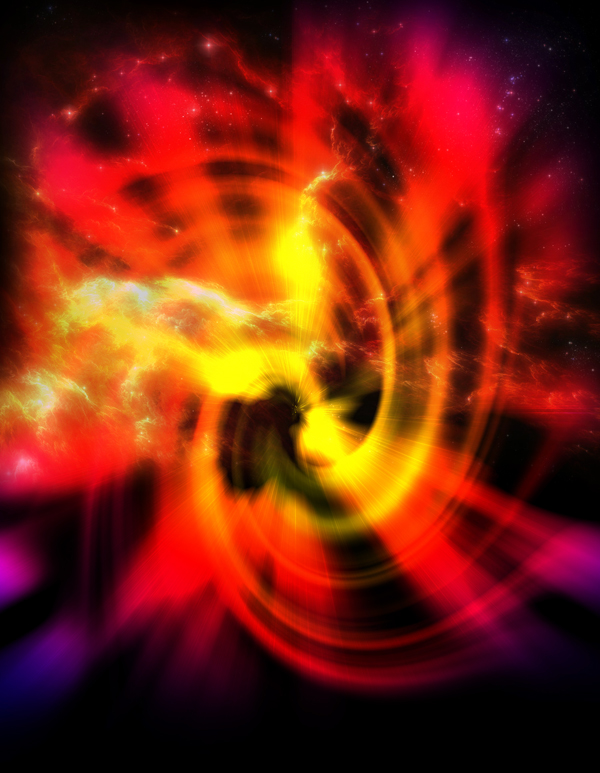
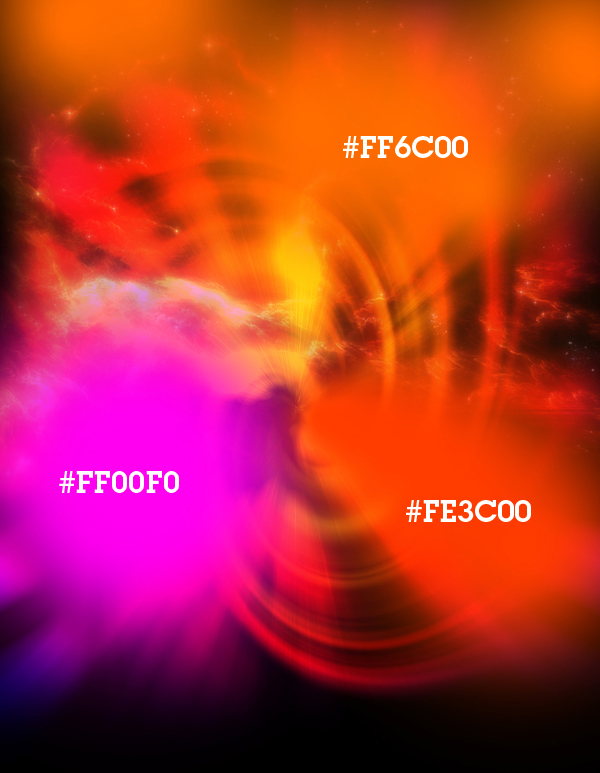
Next you will create another Group called Adjustments. Inside this group create a new layer and using the Soft Brush (B) you need to add a spot of pink color #ff00f0, into a new layer a red color #fe3c00 and into another new layer an orange one #ff6c00. Each color should be in it’s own layer for easy adjustments.
Set each layer as follows: pink Linear Dodge and Opacity 21%, red Linear Dodge and Opacity 5%, orange Linear Dodge and Opacity 21%.
This is one of those steps that requires the best judgement of the designer. For this particular setup, these values made sense, but do as you see fit obviously.
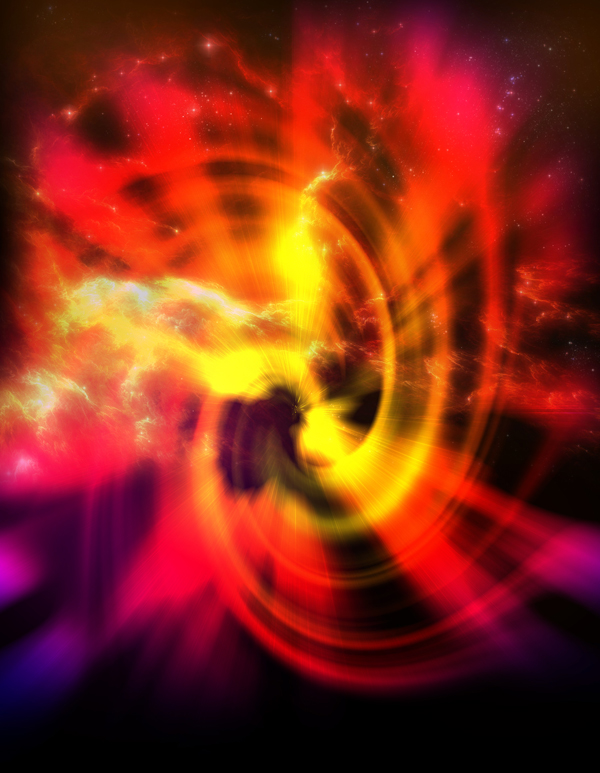
 Set the layer to Color and Opacity 24% to give the image a bit of a color cast.

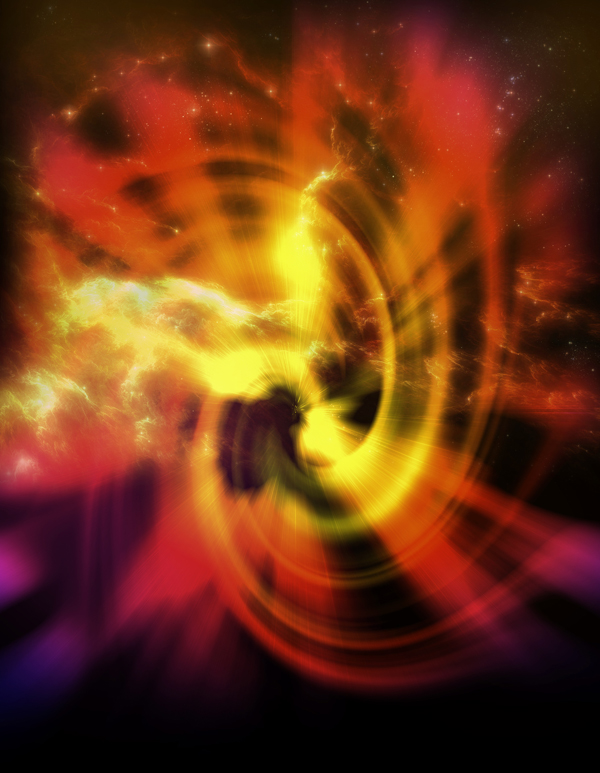
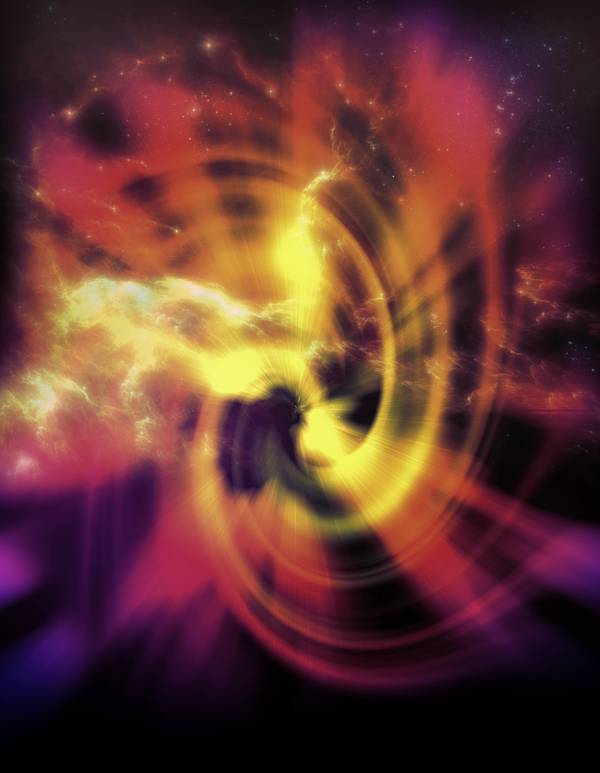

Create a new layer. Press Command + A (Ctrl + A in Windows) to select everything and press Command + Shift + C (Ctrl + Shift + C in Windows) to copy merged and then press Command + V (Ctrl + V in Windows) to paste into a new selection. Place the new layer inside the Omega group if it’s not already there..
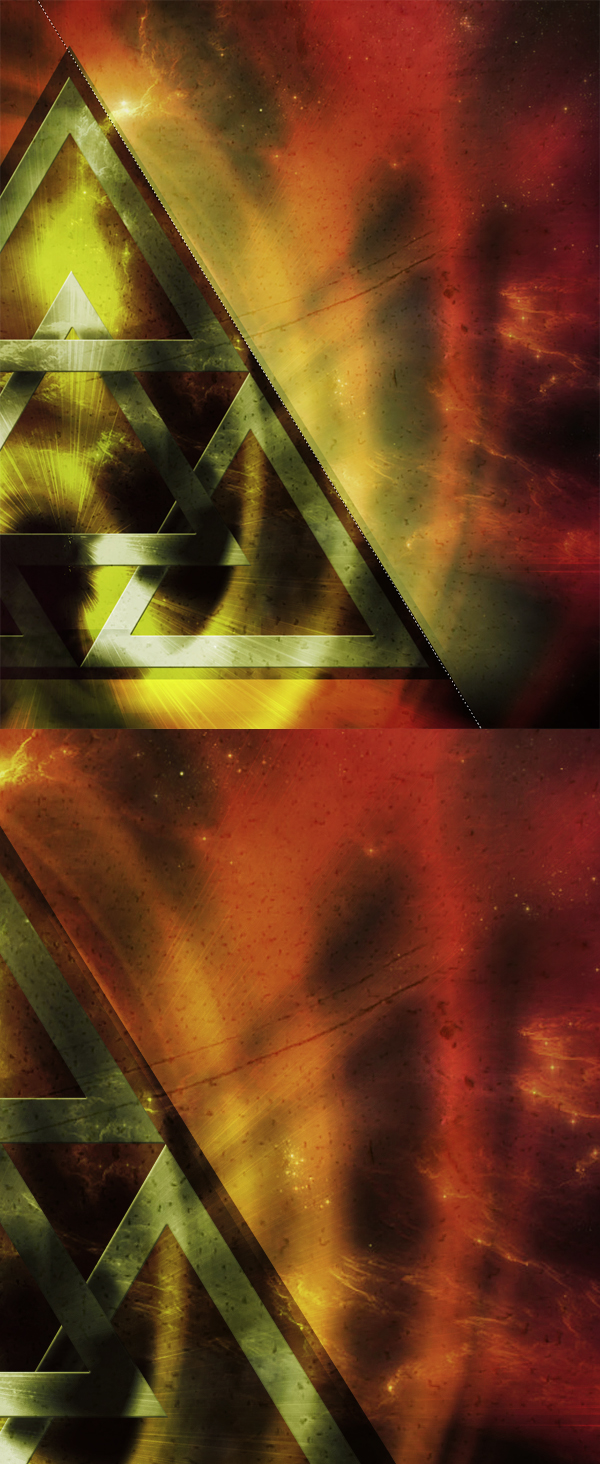
Create a triangle shape and place it in the middle of the composition. You will use this shape just for reference.
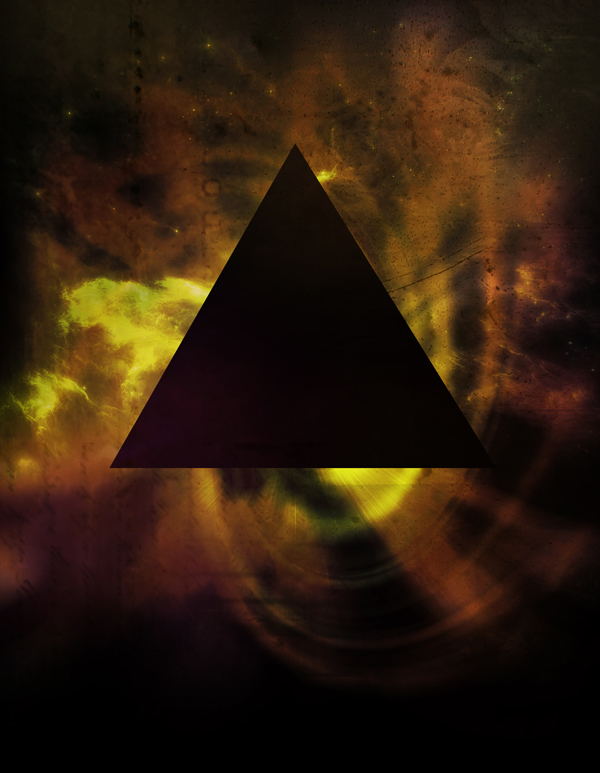
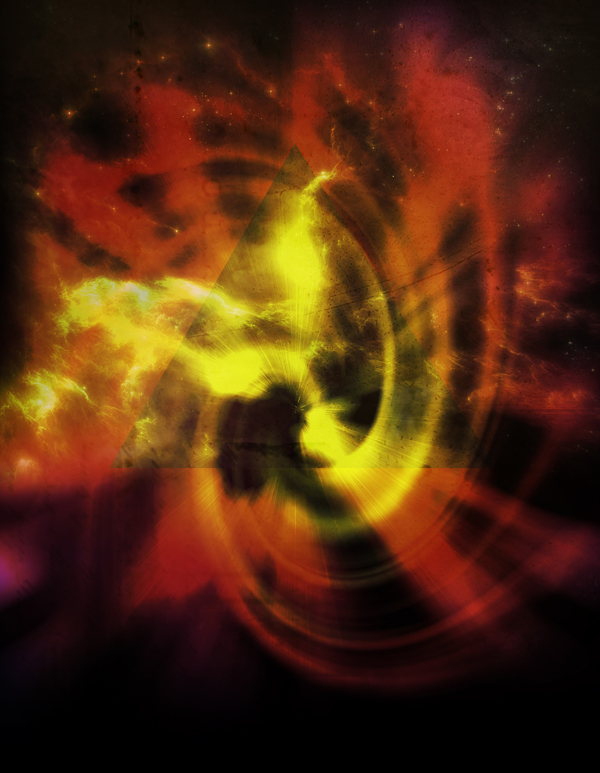
 Then set the layer to Soft Light. Duplicate this layer and set it to Multiply and 10% Opacity.
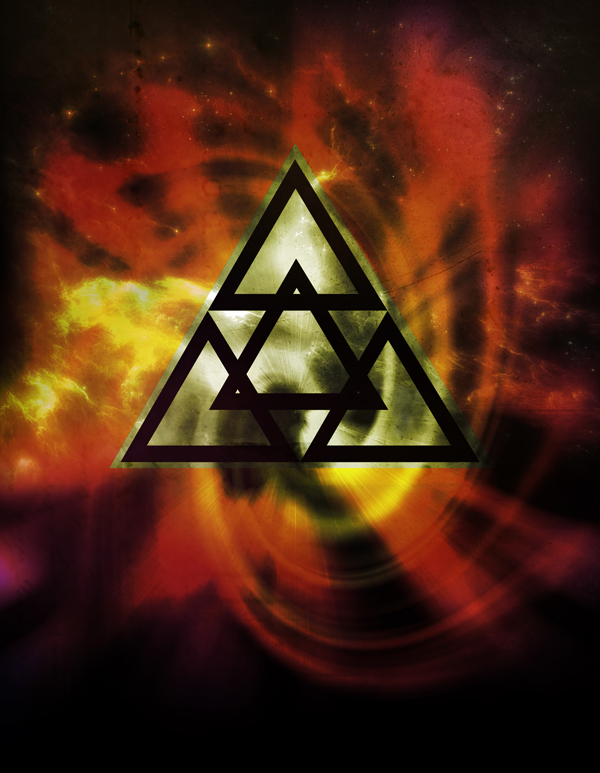
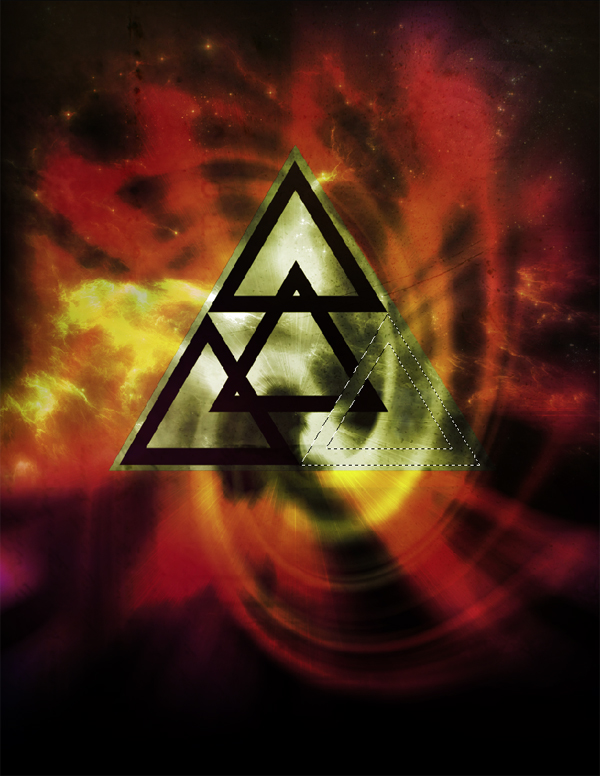
Note: Each of the small triangles should now be in a layer of their own.
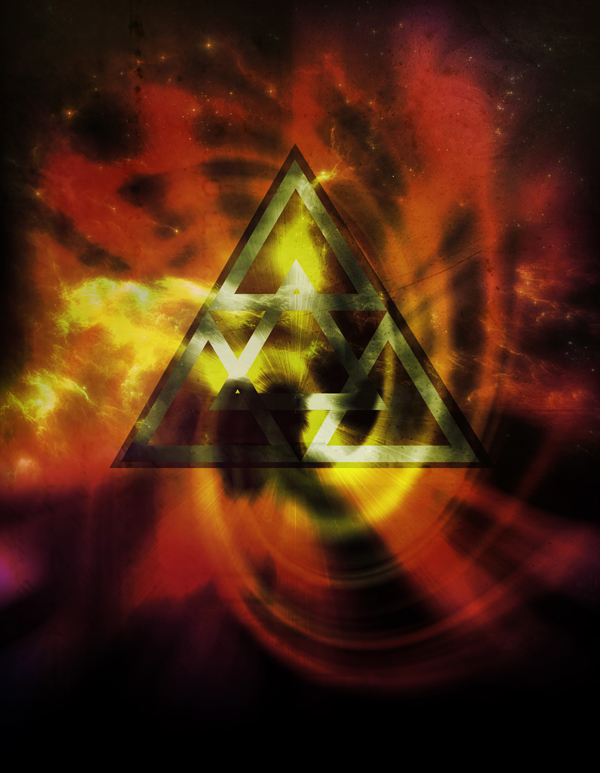
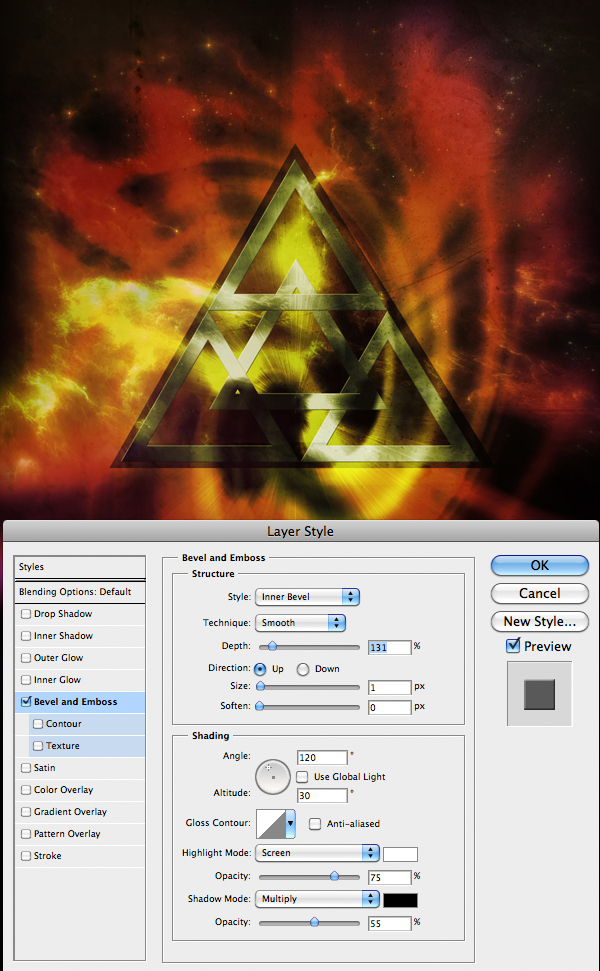
Note: Erase the edges with a Soft Brush.


Final Image Preview
Before you start take a look at the final image you will be creating.
Step 1 – Preparing the scene
Start by creating a new document. The canvas below is 1655×2132 and filled with black.
Step 2 – Creating the background
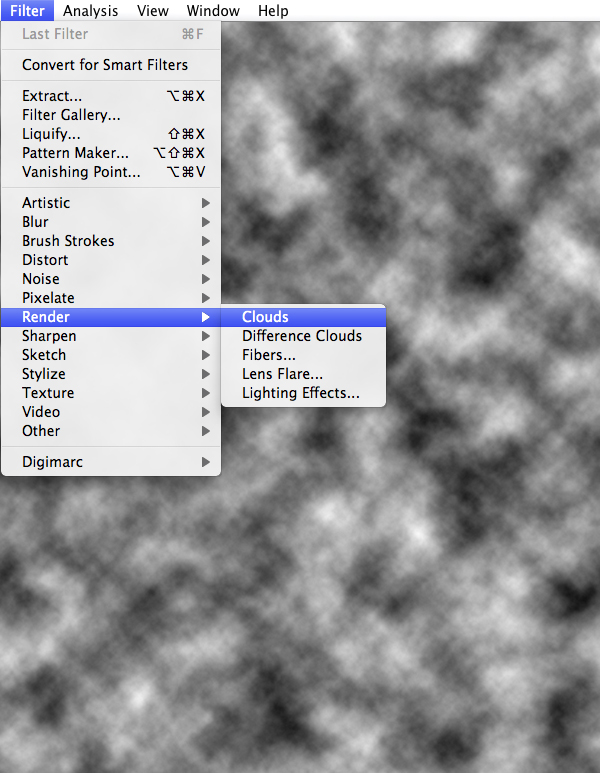
Create a new layer group called “Background“. In this new group you will create the main elements that define the background. Start by creating a new blank layer. Make sure the Foreground color is black and Background color is white. Render some clouds by going to Filter > Render > Clouds.
Step 3
Next you need to apply a Radial Blur to this layer (Filter > Blur > Radial Blur) and apply a amount of 100 with Blur Method set to Zoom and the Quality to Best.
Step 4
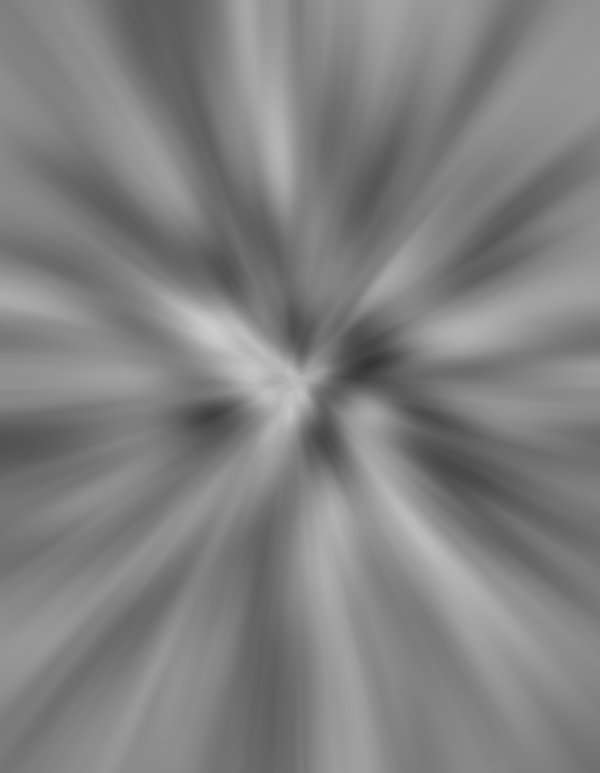
Press Command + F (Ctrl + F on Windows) to apply the same filter again.
Step 5
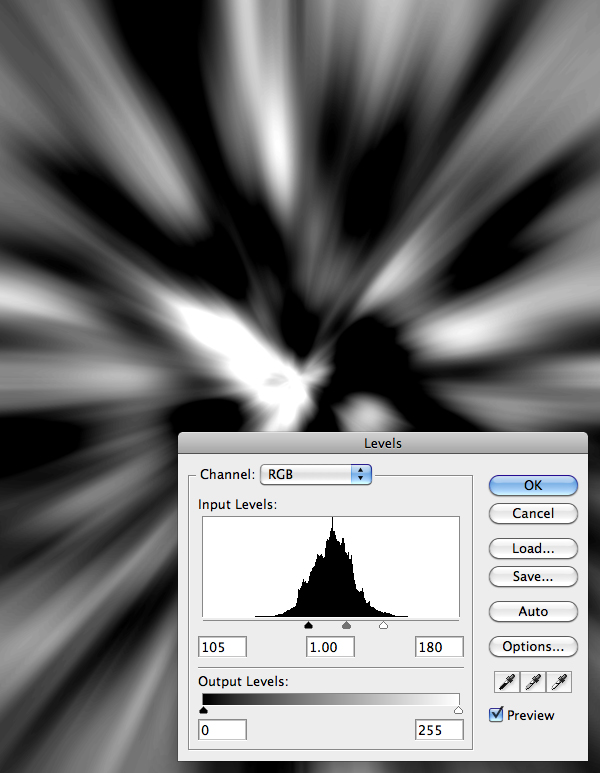
Bring up Levels (Command + L or Ctrl + L on Windows) and adjust the settings to produce similar results as shown below.
Step 6
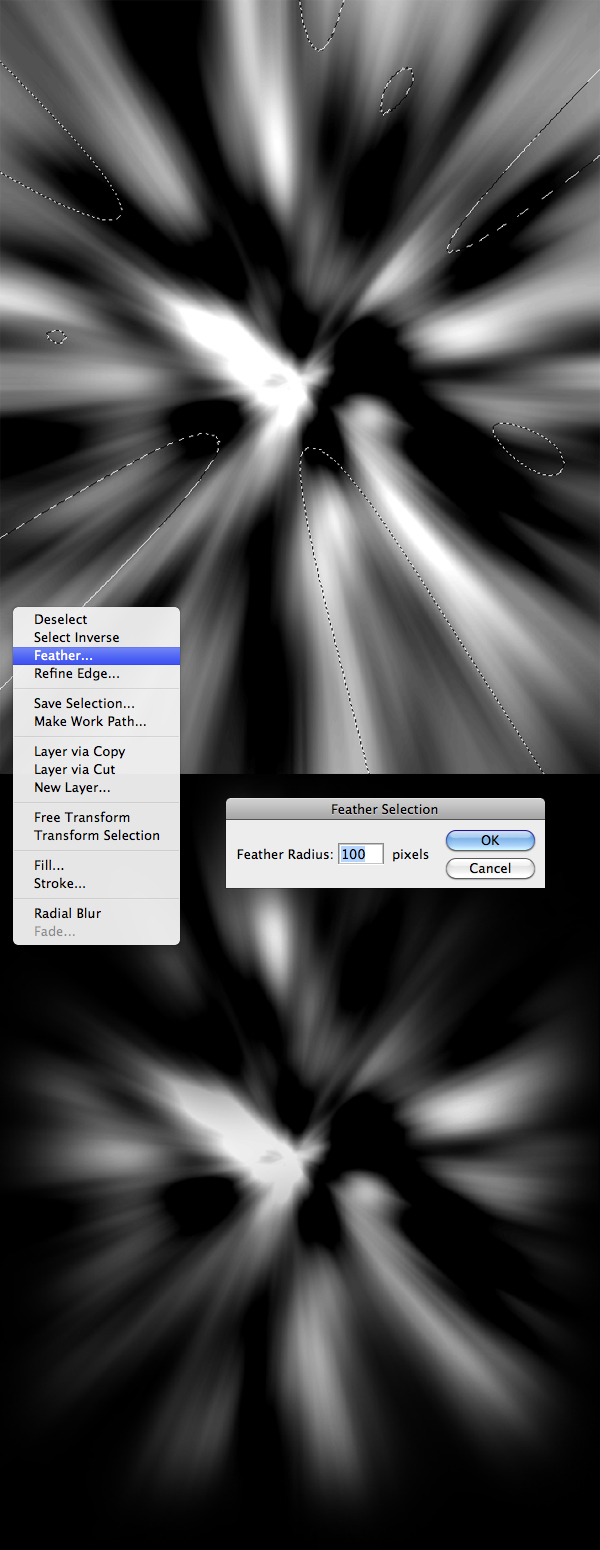
Use the Polygonal Lasso Tool (L) set to 100% Feather and select several parts of the cloud render to delete (Remember: after making a selection, hold shift and create a new selection to add to the previous selection. Learn More About the Selection Tools). Delete this selection (Delete or Control+X). You may decide to feather this selection prior to deleting once more to make a softer deletion.
Step 7
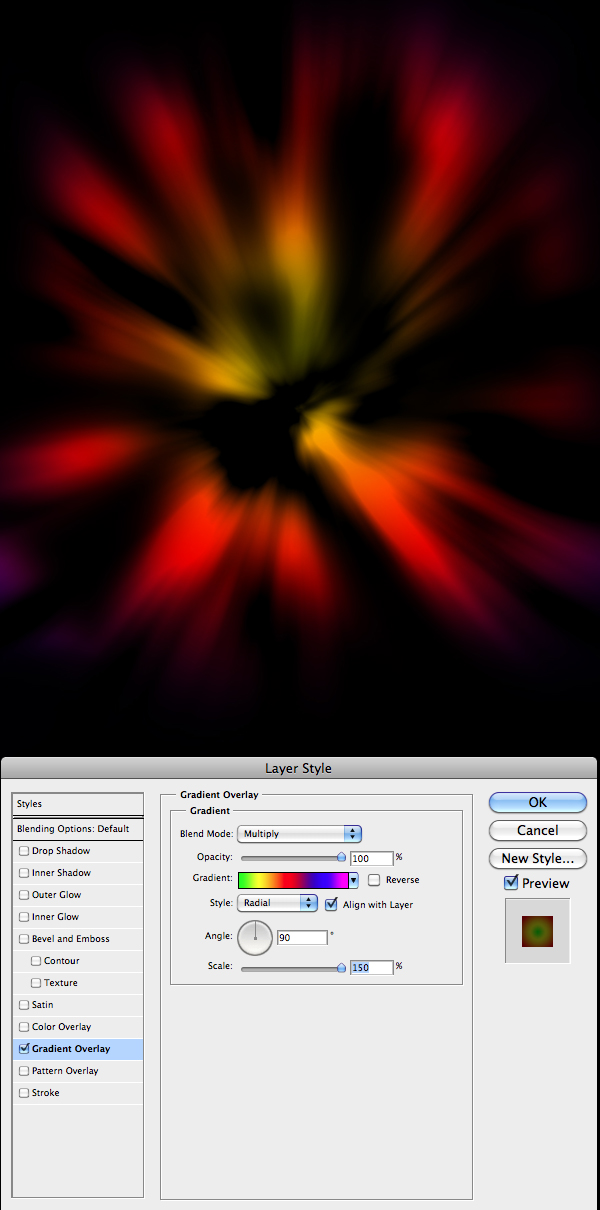
Open this layers Blending Options and apply a Radial Gradient. Use the settings below to get a similar result.

Step 8
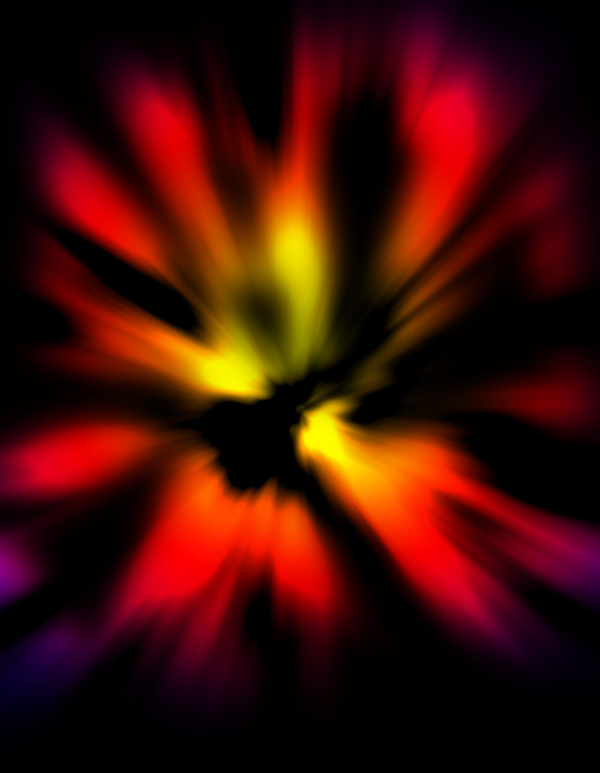
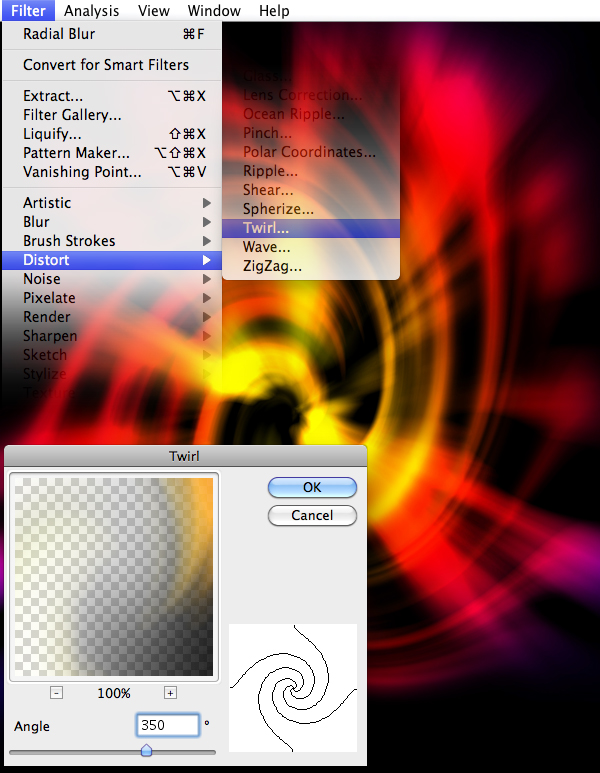
Duplicate the layer again and this time apply a Twirl to this layer (Filter > Distort Twirl) with the angle set to 350.
Step 9
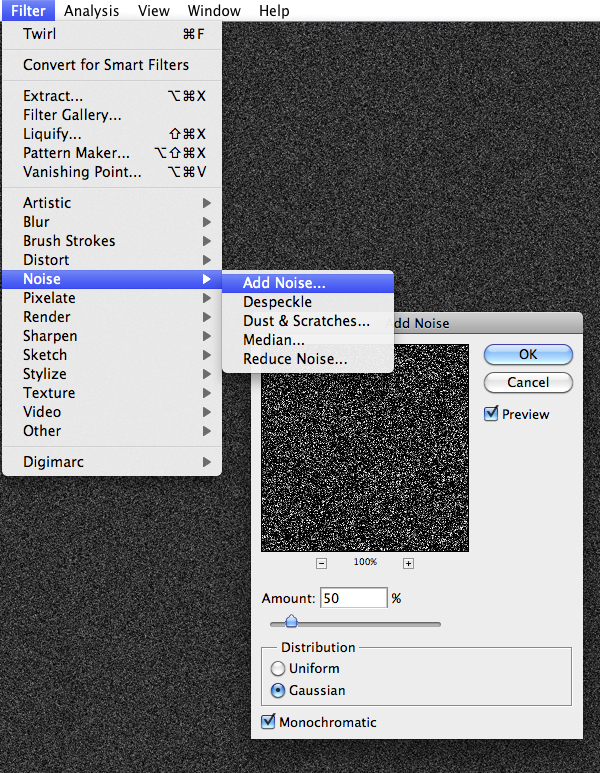
Create a black layer over the burst layers and add some noise over this layer (Filter > Noise Add Noise). Set it to 50% Gaussian and check Monochromatic.


Step 10
In this step you will use a Nebula stock image. There are many to choose from, but I have chosen the wonderful stock image created by Moonchilde-Stock. Erase the edges of the image with a soft brush, and set the image to Linear Dodge and 80% Opacity.
Step 11 – Color Adjustments
You are finished with the Background Group.Next you will create another Group called Adjustments. Inside this group create a new layer and using the Soft Brush (B) you need to add a spot of pink color #ff00f0, into a new layer a red color #fe3c00 and into another new layer an orange one #ff6c00. Each color should be in it’s own layer for easy adjustments.
Set each layer as follows: pink Linear Dodge and Opacity 21%, red Linear Dodge and Opacity 5%, orange Linear Dodge and Opacity 21%.
This is one of those steps that requires the best judgement of the designer. For this particular setup, these values made sense, but do as you see fit obviously.


Step 12
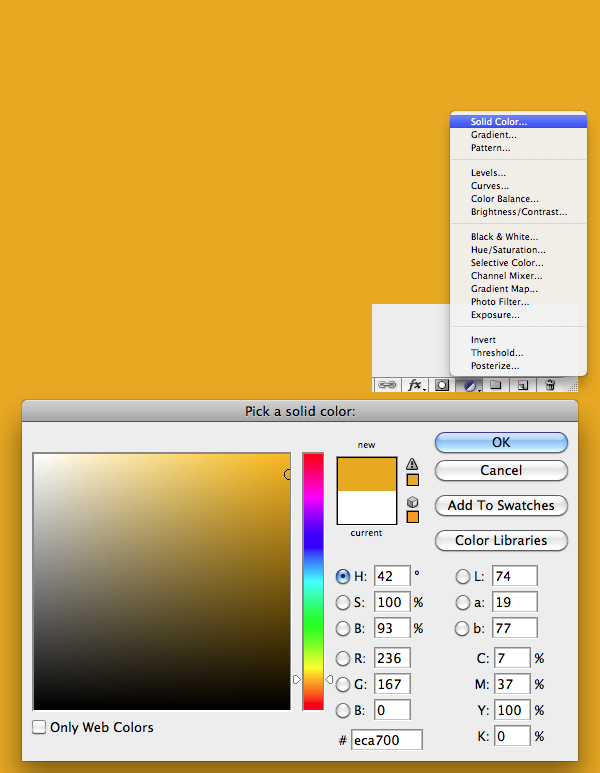
Create a new Solid Color Layer with the color #eca700.

Step 13
Repeat Step 12 but this time apply this color #00af3a and for the layer style again use Color and Opacity 11%.
Step 14
Repeat Step 12 but this time apply this color #001eff and for the layer stile again use Color and Opacity 16%. Also above all the layers and groups add the texture provided by SXC and set the layer to Overlay. Please note that this same effect could definitely be achieved by other means such as a levels adjustment layer if you’re comfortable using them.

Step 15 – Creating the Symbol
You are finished with the Adjustments Group. This next part of the tutorial focuses on the Omega Code symbol (but you’re free to create your own logo/symbol if you’d like). Create a New Group between the Adjustments and Background groups and name it Omega, this group will hold all the details and the Omega Symbol.Create a new layer. Press Command + A (Ctrl + A in Windows) to select everything and press Command + Shift + C (Ctrl + Shift + C in Windows) to copy merged and then press Command + V (Ctrl + V in Windows) to paste into a new selection. Place the new layer inside the Omega group if it’s not already there..
Create a triangle shape and place it in the middle of the composition. You will use this shape just for reference.

Step 16
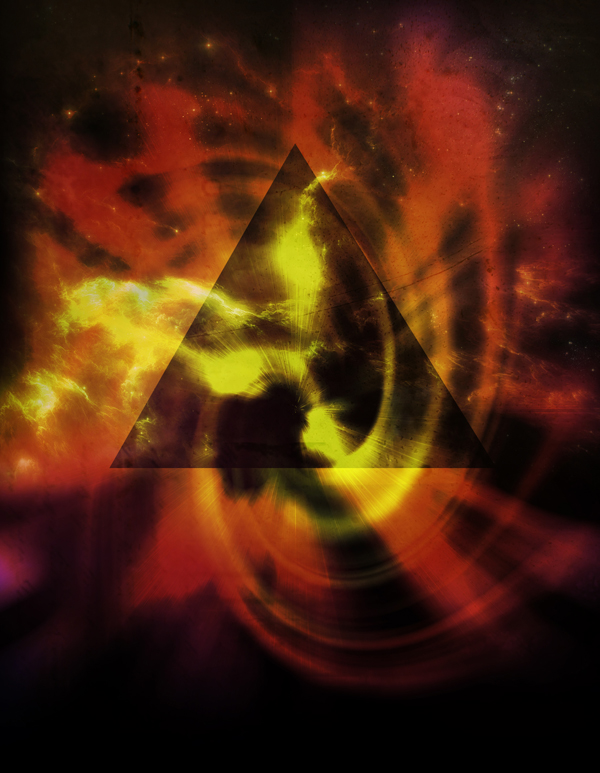
Make a selection around the black triangle (Ctrl + Click Layer in Layers Palette). For the moment, hide the triangle shape layer. Select the layer you have created in Step 15 (the merged copy of all other layers) and with the selection simply cut out a piece out of the merged layer.
Step 17
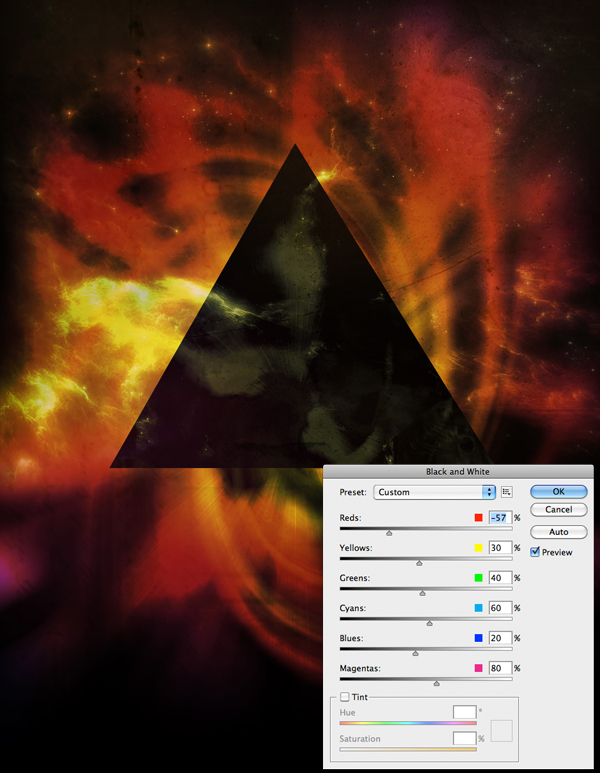
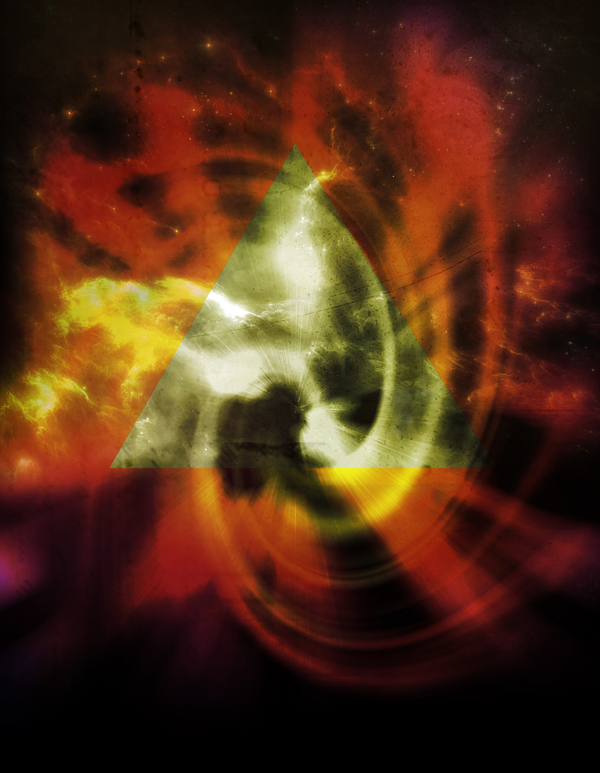
Show the triangle layer again, and be sure it’s rasterized (Right Click > Rasterize). Apply the following adjustments: Command + Shift + Option + B (Ctrl + Shift + Alt + B on Windows) with setting in image below.

Step 18
Now you will have to create 4 more Triangles but these Triangles will have some cuts inside of them. To create the triangles you need to duplicate the triangle layer you have created back in Step 16, apply a black and white adjustment (Command + Shift + Option + B or Ctrl+ Shift + Alt + B on Windows) then use the Levels Adjustments to make it lighter (0 – 1.00 – 176).
Step 19
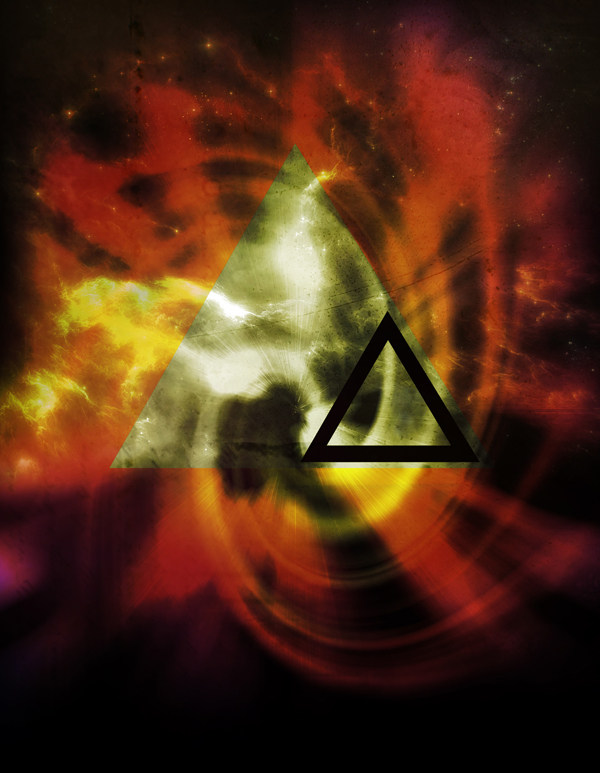
Create a smaller black triangle. Duplicate this triangle, and transform it so that there is an even smaller triangle within it (Note: Hold Alt + Shift while transforming to transform in proportion, and from the center). This triangle should occupy roughly 1/4th the area of the large triangle we applied the Black and White adjustment to in the previous step.
Step 20
Duplicate this black triangle 3 more times and place them like below.
Step 21
Make a selection around one of these triangles then select the big triangle and cut (Ctrl + X) a portion out of it. Paste this cut into a new layer, and delete the black small triangle layer.
Step 22
Repeat Step 21 for all the other triangles and deactivate the big triangle from step 18.Note: Each of the small triangles should now be in a layer of their own.

Step 23
Apply the below Blending Option for all 4 triangles.
Step 24
Now use the Polygonal Lasso Tool and make a selection like below. Create a new layer and in this layer apply a Soft White gradient set to White/Transparent (a soft, large white brush may work just as well). Set the layer to overlay and Opacity 70%. The soft glow is not visible at the moment but as you proceed they will look very nice.Note: Erase the edges with a Soft Brush.

Step 25
Keep on creating more glows, different sizes like in step 24.
Step 26
Same technique with the left side.


Step 27
And the bottom side. Keep layering the effect on top of one another to build up a powerful collection of highlights.
Step 28
Now you will use the same technique but this time create circle selections using the Elliptical Marquee Tool, invert the selections and then use the Radial Gradient. You will set these layers to Overlay and 88% Opacity.


Step 29
Next you will need to use the Pen Tool (P) and create paths on different locations over the 4 triangles. Then you will have to stroke those paths with a small white brush and set the layers to Overlay and Opacity so that the effect isn’t overwhelming.
Step 30
Use the Pen Tool (P) and create 2 white strokes 1px that will intersect and use the Eraser Tool (E) on the edges to fade them out softly. Then apply a soft white Outer Glow to it
Step 31
Duplicate, or create several more of these star elements to give your symbol a bit of polish!
Conclusion
We’re finished! Hopefully you’ve picked up a few new techniques and had fun while doing so. Please share any of your personal creations in the comments for others to see! You can view the final image below or view a larger version here.