Dark, Gritty Photo Effect
In this nice and easy Photoshop tutorial I’m going to be teaching you how to add a very simple, dark & gritty-style effect to a photo, in this case a photo of the beautiful Evangeline Lilly!
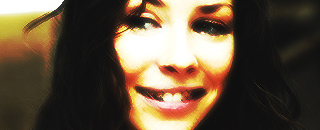
1.
First of all open up a photo, I’ll be using a photo of Evangeline Lilly:
Duplicate the main layer (Background) and apply Filter > Brush Strokes > Dark Strokes with these settings:
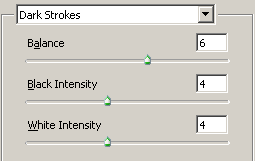
Set the layer mode to Overlay and the opacity to 70%, duplicate the layer and change the layer mode to Color Dodge and the opacity to 40%.

2.
Duplicate the Background layer again and move it to the top of the layers pallete: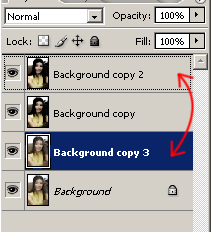
Apply Filter > Blur > Gaussion Blur with a radius of 3, now set the layer mode to Color Burn and the opacity to 40%.

Duplicate the background layer again and move it to the top of the layeres pallete again.
Hit CTRL + U and use the following settings:
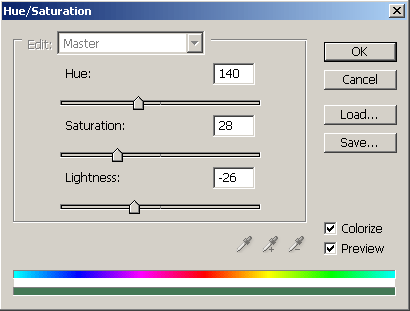

Set the layer mode to Overlay and the opacity to 50%.

3.
Create a Brightness/Contrast layer (Layer > New Adjustment Layer > Brightness/Contrast and use these settings: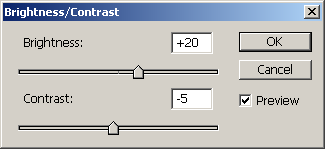

Create a new layer and Apply the image (Image > Apply Image)
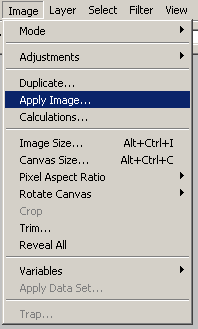
Apply Filter > Sharpen > Sharpen then duplicate the layer. Apply Filter > Blur > Gaussion Blur with a radius of 3 to the duplicate layer.

Set the layer mode to Lighten and the opacity to 50%, duplicate this blurred layer and change the mode to Overlay and the opacity to 40%.
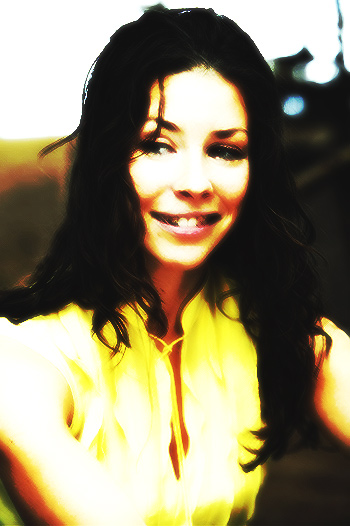
Don’t forget to try different filters and layer modes!

 Previous Article
